Besides the WordPress software itself, the most important software for WordPress are its plugins. Plugins are used to add additional functionality to your site. And there is just about a plugin for everything you can think of.
All plugins are not created equal however, and it is important that when you pick your plugin, that you follow certain guide lines. I talk about these guides in my article, “How Many Plugins Should You Have On Your WordPress Site?” I am not going to go talk about these guidelines in this article, but feel free to go check out my other article. In this article I am going to show you how to find a plugin for your WordPress site and how to install it properly.
Let me make clear before I start, that I will be talking about a WordPress plugin installed on a self-hosting version of WordPress, not WordPress.com. There is a big difference and you can read my article titled “WordPress.com or WordPress.org-What’s The Difference.
How To Install A WordPress Plugin With Two Methods
In this article I am going to show you how to install a plugin using the two easiest methods I know. The first will be how to install using the WordPress admin backend and using a search and install method. The second is installing by uploading the plugin into your WordPress admin. There is another method, using FTP, but that is a little more difficult, so I am going to defer this method to another day.
Install a Plugin using WordPress Plugin Search
The easiest method of installing a WordPress plugin is with plugin search. The downside of this method is that it the plugin has to be in the WordPress Plugin Depository which is limited by free plugins only.
The first thing you need to do is go to your WordPress admin area and click on Plugins >> Add New.
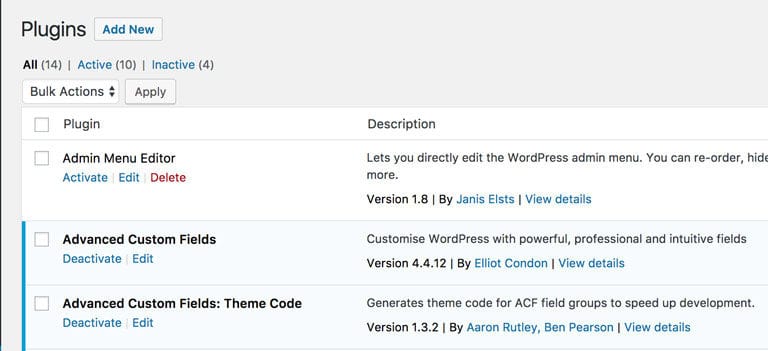
You will see a screen like the one above. Type in the plugin name, or close, it also can be a description, or a functionality, in the search box, and you will see plugins pop up that fit the description you entered. The example I am going to use for the plugin we are going to add is “Under Construction.”
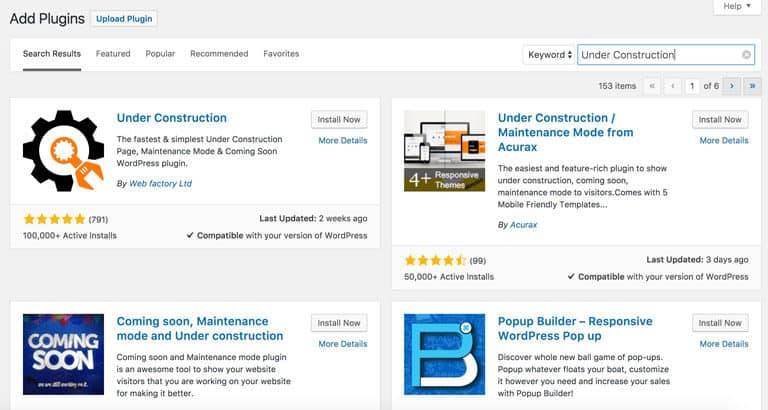
Although you can pick the plugin that meets your needs, we are searching for the “Under Construction” plugin, which is the first one listed. Click on the install button to install the plugin, then click on activate to add its function to your site. WordPress will now download and install the plugin.
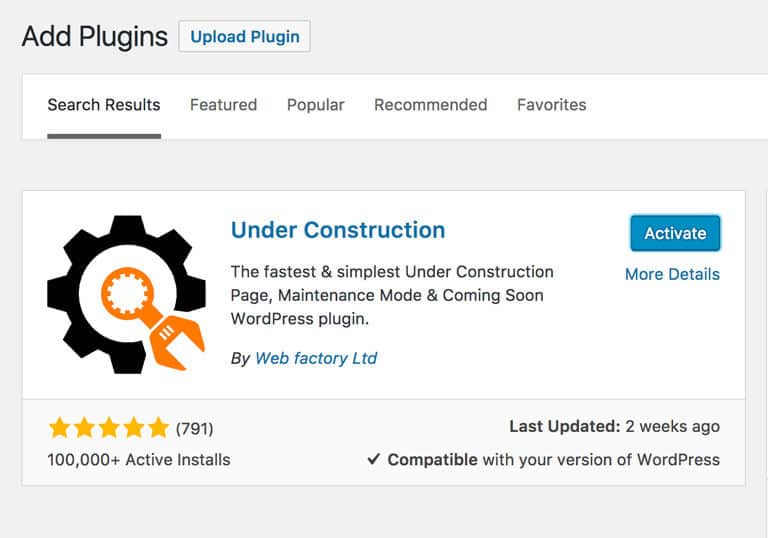
The plugin can be installed on your site, but unless you activate it, it will not work.
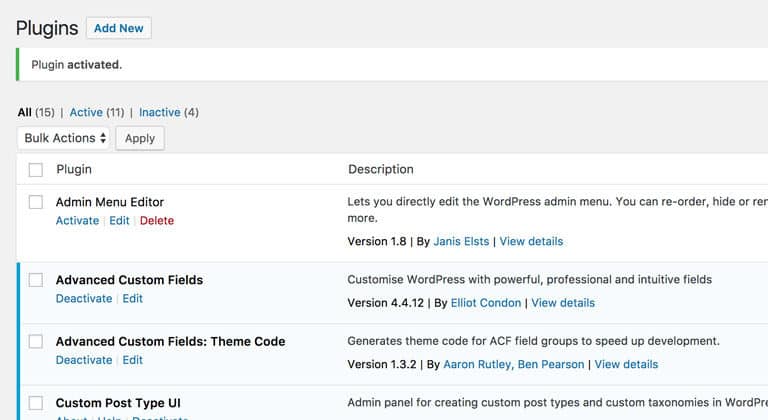
That’s it. You have installed your first plugin.
Install a Plugin using the WordPress Admin Plugin Upload
All of the plugins in the WordPress repository are free plugins. What if you decide to purchase a premium one? Well then you will have to download it from the owner’s website. These premium plugins cannot be installed using the first method.
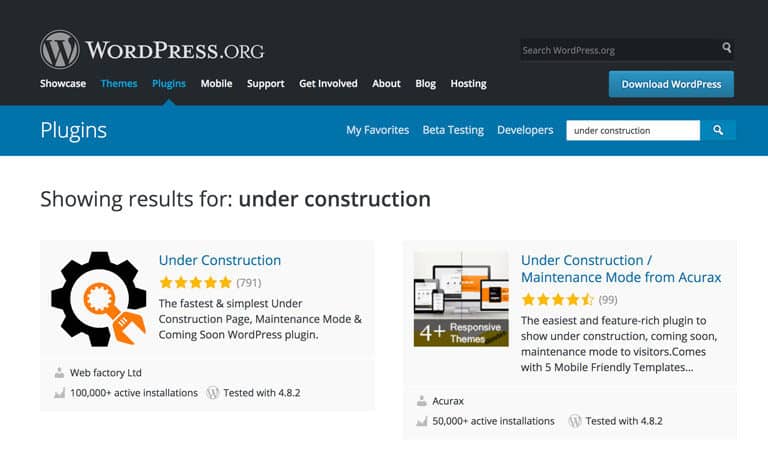
Or, you could just go to WordPress.org website and find a plugin there and download it. (See image above) I’ve done this a numerous times with free plugins when I was researching other plugins, only to find plugins that I was interested in. I won’t go into detail about this method as the upload procedures are the same.
So we cannot install a premium plugin from the WordPress depository; not to worry, this is why WordPress has the Upload method to install such plugins. I will show you how to install a WordPress plugin using the upload option in the admin area.
First off, you will need to download the plugin from where you purchased it, usually the owners website. These upload methods only work with a zipped file, so make sure not to unzip the plugin when you download it from the purchasing website.
Next, you will need to go to the WordPress admin area and visit Plugins >> Add New page.

After that, click on the Upload Plugin button on the top of the page.

This will bring you to the plugin upload page. Here you will need to click on the Choose File button and select the plugin file location where you downloaded the plugin earlier.
After you have selected the file, you will then click on the Install Now button.
WordPress will upload the plugin file from your computer and install it. You will then see a success message after the installation has finished.

Once the plugin has been installed, you will need to to click on the Activate Plugin link to start using the plugin.
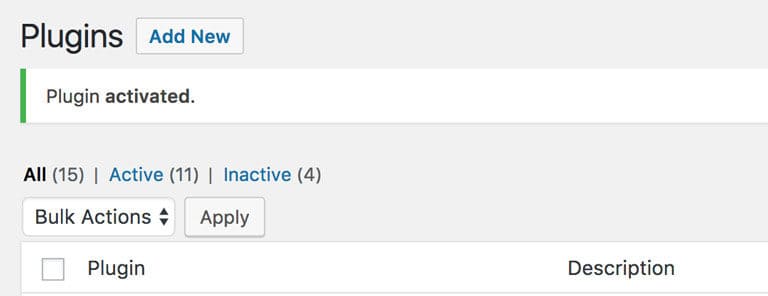
Now you will need to configure the plugin to fit your needs. The settings will vary from plugin to plugin, so I will not be talking about that in this article.
Does This Help You Installing A WordPress Plugin?
Well that’s it. Two easy methods of installing a WordPress plugin. I hope this article helps you when you install your plugins.
Which method have you used before? Which method do you prefer? I would love to hear about this in the comments below.